Build Your Own Hybrid Drum Kit – Step-by-Step Conversion
Share
What is a Hybrid Drum Kit?
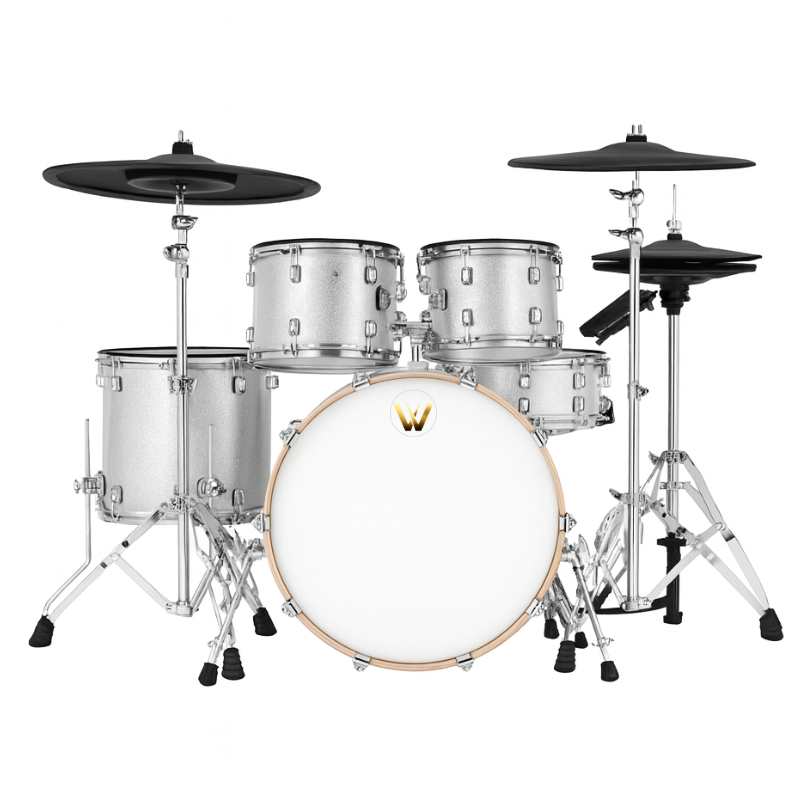
A hybrid drum kit is a fusion between acoustic drums and electronic components. It allows drummers to maintain the feel of acoustic drums while gaining digital control over sounds, volume, effects, and MIDI integration.
Benefits:
Silent Practice with mesh heads.
Customizable Sounds using drum modules and VSTs.
Recording Flexibility via USB/MIDI.
Live Performance Control – switch kits, adjust levels instantly.
Smaller Footprint & Noise Control – ideal for apartments or shared spaces.
Required Tools & Equipment:
Drum key, adhesive, audio cables (TRS/TS), module with trigger inputs.
World Drummers products: triggers, mesh heads, cymbals, cables.
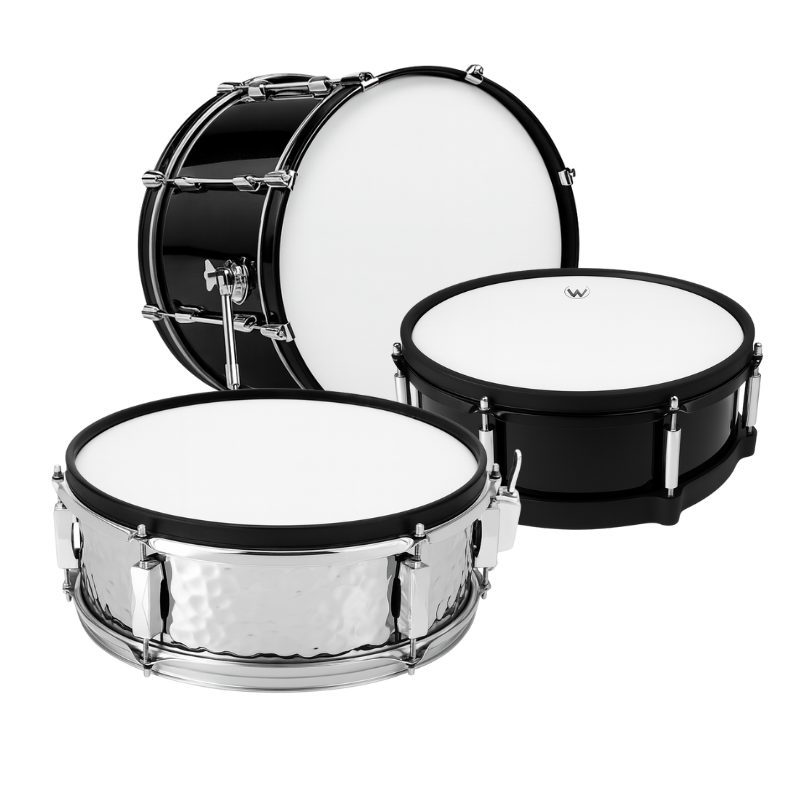
Module 2: Upgrading the Bass Drum
Product Used:
20" Bass Drum Mesh Head with Built-In Trigger
Steps:
Remove the original bass drum head.
Install the mesh head: Align the rim properly and tighten evenly to maintain consistent tension.
Connect the built-in trigger to your drum module via TRS cable.
Module Configuration:
Input Type: Kick / Piezo.
Adjust threshold, sensitivity, and curve settings to optimize response.
Play Test: Tap at different velocities to ensure even triggering.
Tips:
Keep cable routing clean using clips or cable sleeves.
If using a double pedal, ensure both beaters trigger evenly.
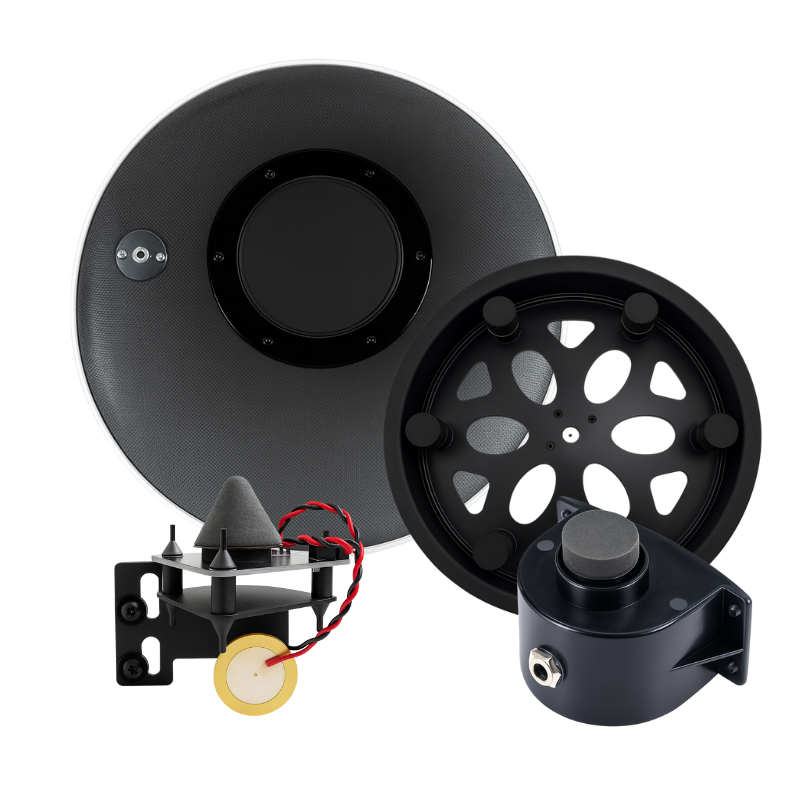
Module 3: Snare & Tom Trigger Installation
Product Used:
14" Dual-Zone Trigger Plate (6 Trigger Points)
Installation Process:
Remove acoustic head and muffling.
Mount the plate inside the shell using the included brackets.
Ensure center contact with the mesh head.
Connect to module: Use stereo (TRS) cables to enable dual-zone (head and rim).
Configure module:
Snare input: Dual zone.
Adjust X-talk and gain.
Settings to Tweak:
Positional sensitivity (if supported).
Rim sensitivity and threshold.
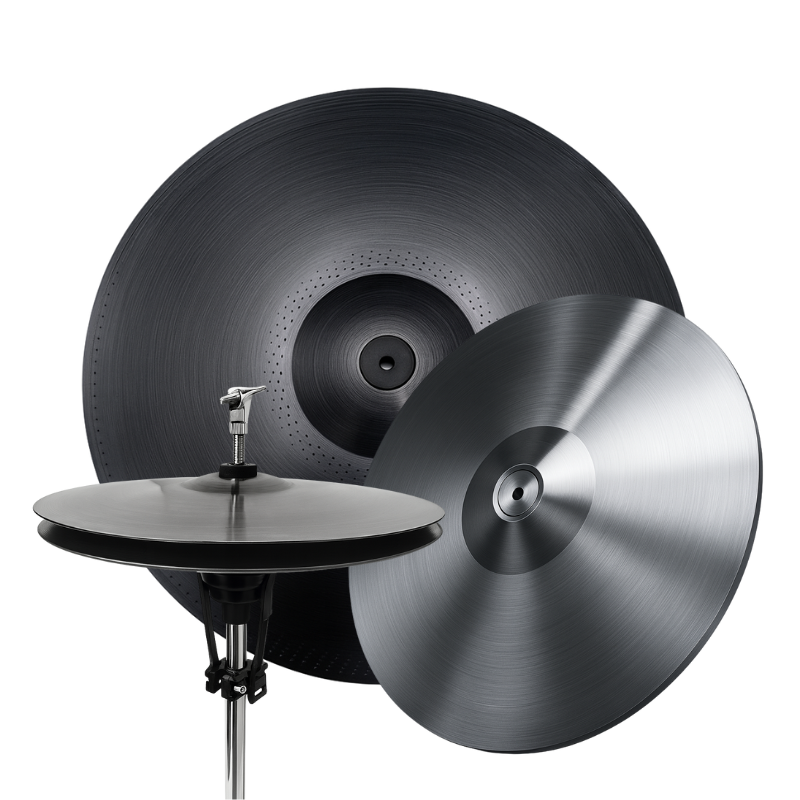
Module 4: Electronic Cymbals Integration
Product Used:
Options:
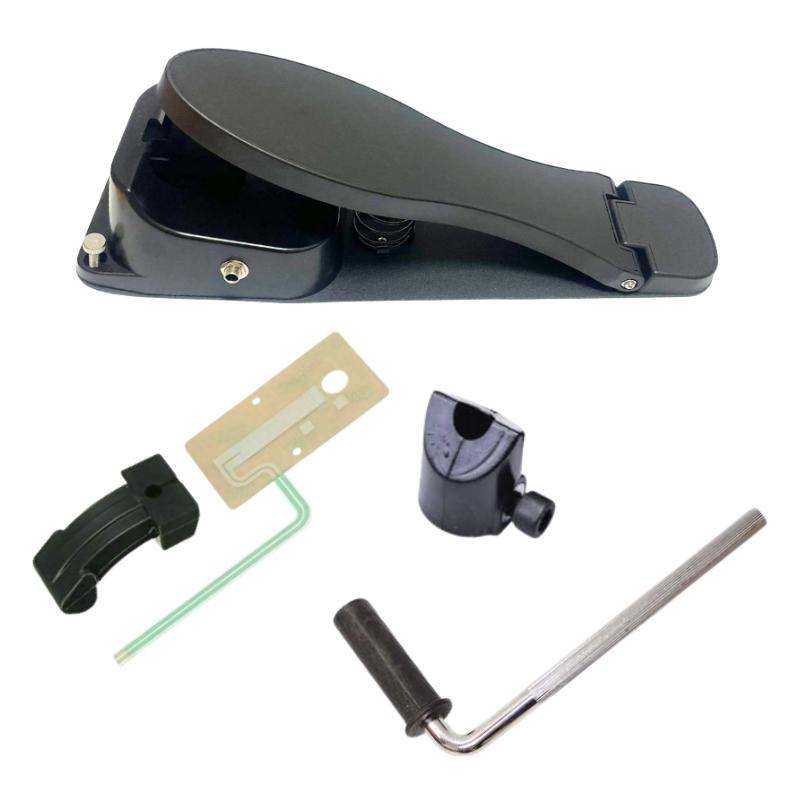
Hi-Hats: Fixed or floating (with controller).
Crash Cymbals: Single or dual-zone with choke.
Ride Cymbals: Bow, edge, and bell triggering.
Setup:
Mount cymbals on standard boom arms.
Connect to module using TRS cables.
Assign zones: Ensure crash and ride respond correctly to choking and bell zones.
Tips:
If hi-hat uses a controller (e.g., VH-11-style), calibrate pedal open/close settings.
Use rubber washers to reduce stick noise.
Module 5: Cables and Connectivity
Product Used:
Electronic Drum Cables Collection
Key Concepts:
Use TRS (stereo) cables for dual-zone pads.
Use TS (mono) for single-zone pads.
Best Practices:
Label each cable by pad name.
Use Velcro ties or loom tubes for clean routing.
Avoid tangling and strain by securing cables under the rack or shells.
Troubleshooting:
No signal? Check jack tightness.
Crosstalk? Lower gain or change pad assignment.
Module 6: Expansion & Customization
Product Used:
Additions:
More toms, FX pads, or side snares.
External hi-hat controllers.
Upgrade your drum brain (module) with USB MIDI.
VST Integration (Optional):
Route MIDI to computer with SSD5, EZDrummer, or Superior Drummer.
Trigger sounds with low latency and pro-level detail.
Final Step: Test, Save, Play
Test each pad individually.
Fine-tune module presets.
Save custom kits on your module.
Practice, record, or go live!