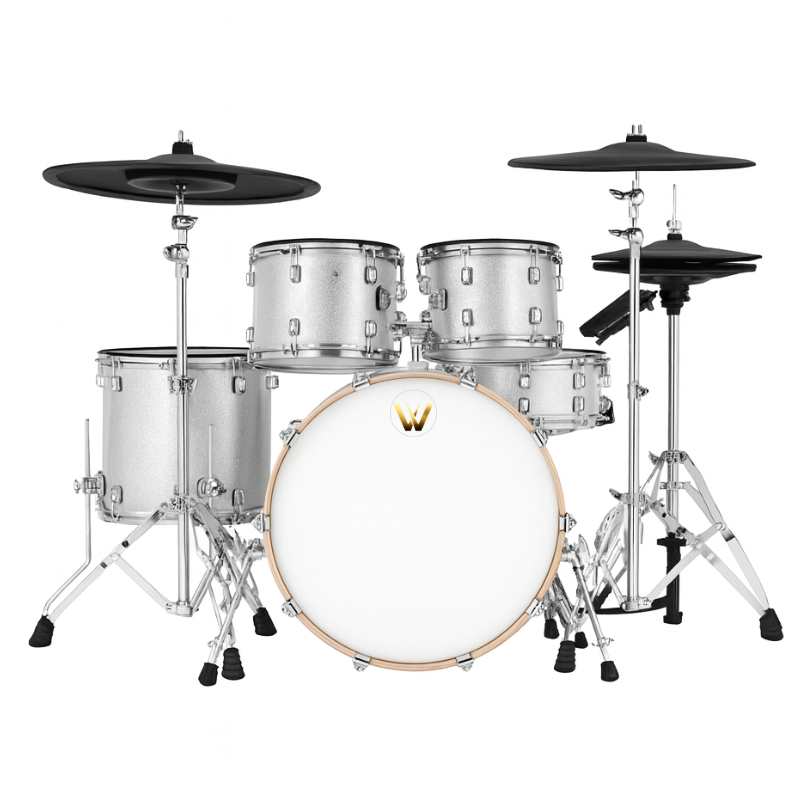
Full Course: Getting to Know Your Roland TD-25
Share
Delivering full understanding of the module’s features, functions, and how to configure everything for performance and practice—with explanations anyone can follow.
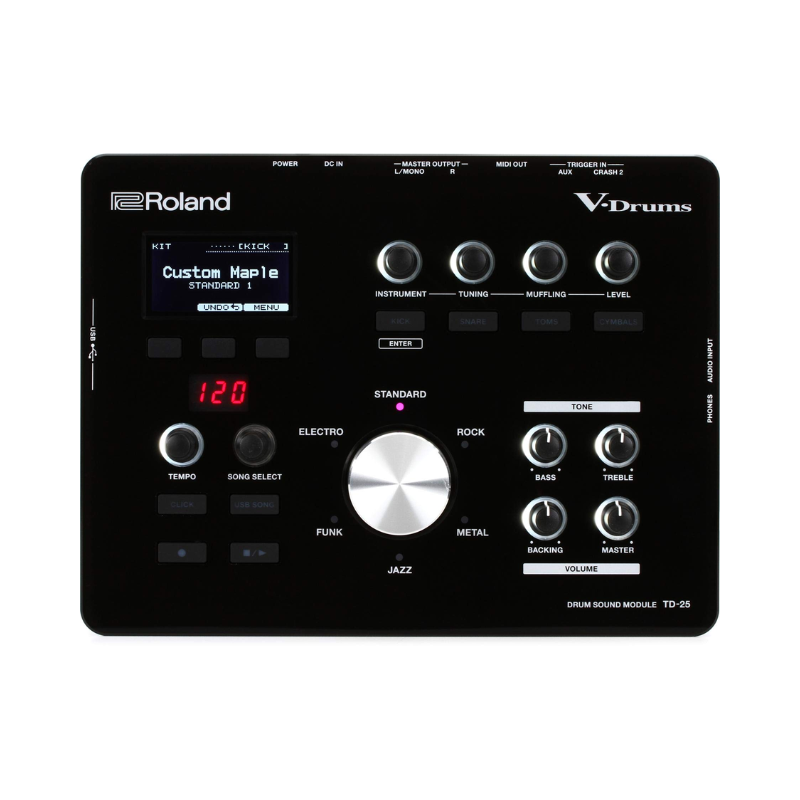
Module 1: Front Panel & Core Controls
Key Controls & Purpose:
KIT: Load and switch drum kits instantly.
INSTRUMENT (ENTER): Select and edit the sound on a specific pad.
MENU: Access global and trigger settings.
CLICK: Toggle metronome on/off; press and hold to change beat unit or tempo.
COACH: Access Coach Mode practice tools—Time Check, Quiet Count, Auto Up/Down, Warm‑Ups
Quick Record: Instantly record short performances.
Master Volume: Controls output volume for headphones/speakers.
Module 2: Trigger Settings & Pad Configuration
Accessible via MENU → Trigger Settings:
Type: Choose pad model (e.g., PDX‑100, CY‑12C, VH‑11). Default parameters update to match pad behavior.
Sensitivity (1–32): Higher values trigger sound even on light hits; lower values require more force. Adjust to fit your dynamic range.
Threshold (0–31): Minimum input strength required to trigger sound. Prevents false hits from vibration. Raise until weak hits stop triggering.
Velocity Curve (LINEAR, EXP, LOG, LOUD, SPLINE): Defines how dynamic your playing feels. EXP: response increases quickly; LOUD: more consistency at high volume.
Mask Time (0–64 ms): Prevents double-triggering from rebound. Increase until single hits are clean.
Retrigger Cancel (1–16): Prevents false re-triggers from irregular waveforms. Set just high enough to block unintended repeats.
Xtalk Cancel: Reduces crosstalk between nearby pads. Increase until you eliminate false triggers.
Rim Gain / Rim-Shot Adjust (dual‑zone pads): Balance rim responsiveness versus head, adjust cross-stick thresholds.
Positional Detection (snare, ride): Enables head vs. rim or bell detection on compatible pads.
Noise Cancel: Places detection threshold to ignore ambient noise (especially useful with RT‑30 triggers).
Module 3: Hi‑Hat Calibration & Control
Accessible under MENU → Setup → Hi-Hat Settings:
Hi-Hat Type: Select VH‑11, VH‑10, or CY‑5 depending on your hardware.
Offset Calibration: Fully close the pedal and select “SET” to establish closed position. Ensures proper open/closed/hybrid detection.
Foot Splash Sensitivity: Adjust how easily fast foot activations register as splash. Useful for dynamics and expressiveness.
Module 4: Coach Mode & Metronome Practice
Coach Mode offers structured training:
Time Check: Play with click for a set number of bars; module scores your timing accuracy.
Quiet Count: Metronome transitions off after a few measures and stays quiet—evaluates internal time sense.
Auto Up/Down: Tempo gradually increases/decreases to build endurance.
Warm‑Ups / Change‑Up: Progressive practice routines changing rhythm subdivision and tempo.
Use CLICK to control metronome tempo, sound, and subdivision. Long press changes beat
Module 5: Kit Editing & Instrument Assignment
Edit kits using INSTRUMENT:
Hit pad and scroll dial to choose new sound (rock snare, electronic tom, crash
Use pad tuning, muffling (decay), and volume per pad for fine control.
Kits autosave but can be renamed for easy selection.
Dual‑zone pad assignment: Rim/head or bell/head assignment; cross-stick threshold control for expressive snare playing.
Module 6: Using TD‑25 with a DAW
Connect via USB to record audio (module sounds) and MIDI. Install Roland USB
In your DAW, select TD‑25 as MIDI input and audio input—use VST drums or record module sound directly.
Use buffer size of 64–128 samples for low latency monitoring.
Module 7: Backup & System Settings
Accessible via MENU → System:
Save Kit / Save Backup: Store your current kit or full settings to an SD card.
Load Kit / Load Backup: Restore presets.
System Options: Language, display contrast, auto‑off timer.
Factory Reset: Returns all settings to default.
Summary & Best Practices
Always select the correct pad type for accurate triggering.
Calibrate your hi‑hat offset whenever you relocate the kit.
Fine‑tune sensitivity and threshold while playing real hits.
Use Coach Mode regularly for timing improvement.
Save custom kits before gigs or updates.
Loop DAW audio/MIDI integration for hybrid performance workflows.
TD‑25 - Pad Settings: Pad Types Explained
Why This Matters
Selecting the correct pad type ensures:
Accurate triggering
Proper sensitivity and response
Correct zone detection (head, rim, bell)
Stable performance with minimal false hits
Built-in Roland Pad Types Supported by TD‑25
The TD‑25 includes preset pad models. Selecting the right one ensures optimal behavior:
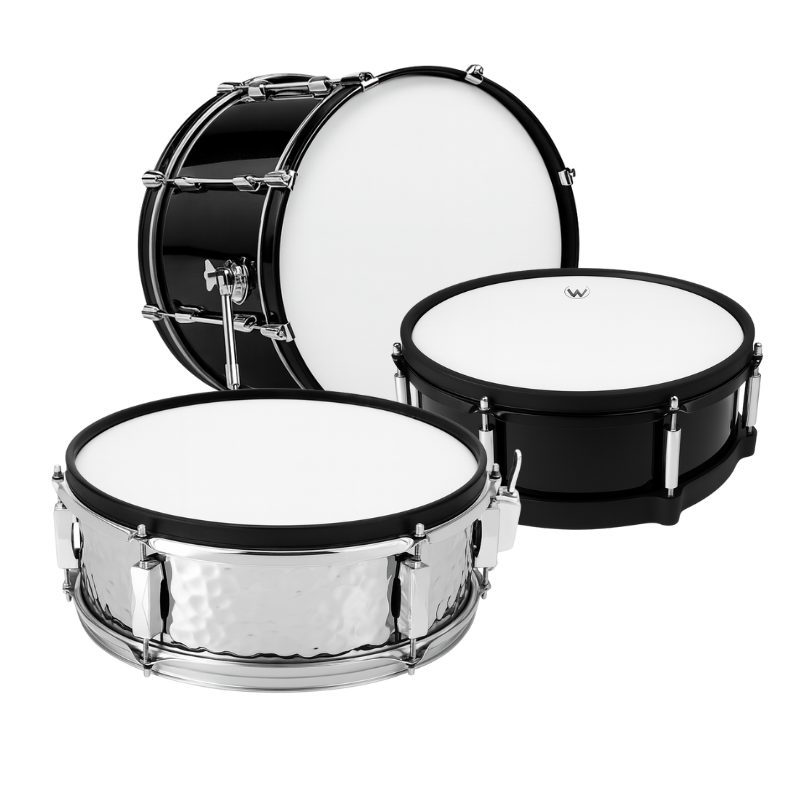
Drum Pads (Mesh / Cloth)
PDX‑100 / PDX‑8 / PD‑128 / PD‑125 / PD‑105
Dual‑zone mesh‑head toms and snares with head/rim detection and positional sensing (if available).
PD‑85BK / PD‑80 / PD‑100
Single‑ or dual‑zone mesh/rubber pads; good entry-level choice.
Kick Pads
KD‑9 Cloth‑head kick pad — realistic feel and accurate triggering
KD‑10 / KD‑85 / KD‑120 for different sizes and response profiles
KT‑10 / KT‑9 trigger pedals for acoustic kick drums
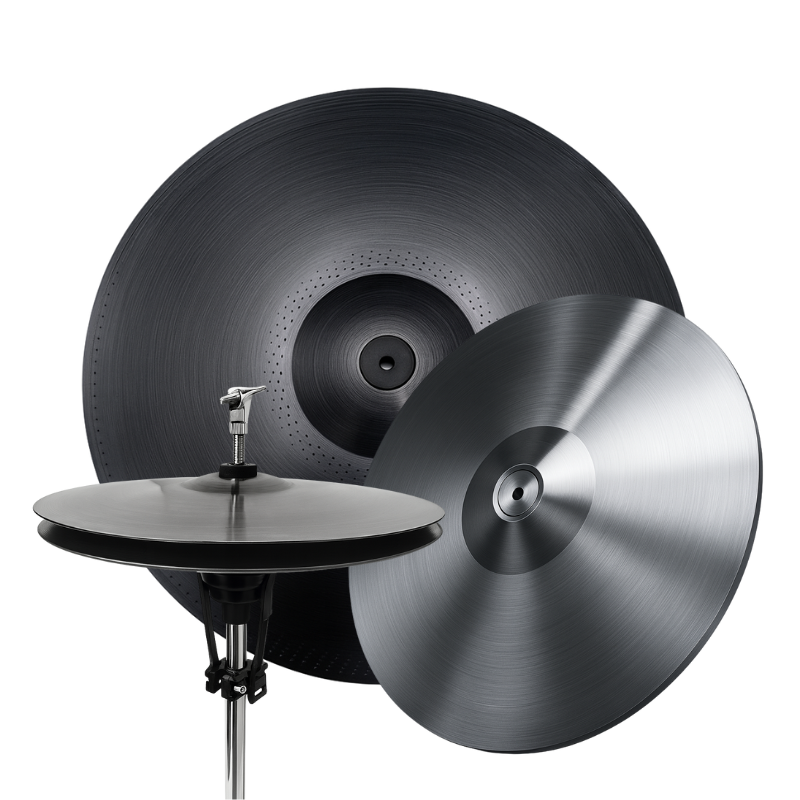
Cymbal Pads
CY‑12C, CY‑13R, CY‑15R: Movable three‑way cymbals (bow / edge / bell zones; bell only on TD‑25+)
CY‑14C / CY‑12H / CY‑8: Fixed two‑zone crash/ride cymbals (bow + edge)
Hi‑Hat
VH‑11 / VH‑10: Two‑piece electronic hi‑hat with open / closed sensing and foot splash detection
Bar / Acoustic Triggers
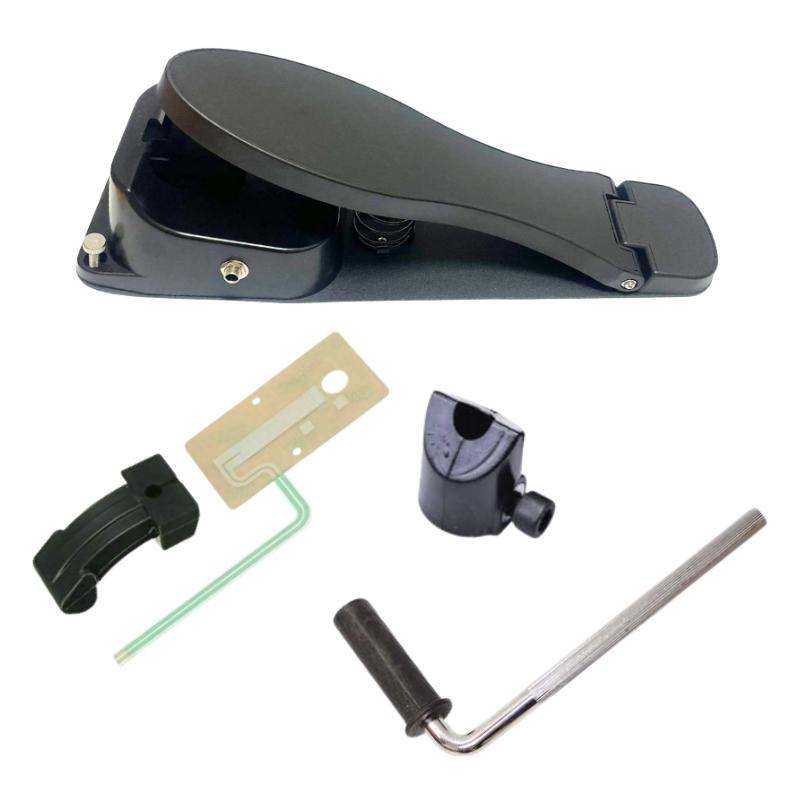
BT‑1: Rubber bar trigger—mono input; used for percussion pads or loops
RT‑30HR / RT‑30H / RT‑30K: Mounted to acoustic drums to provide accurate triggering
How to Set the Pad Type
Go to MENU → Setup → Trigger Settings
Strike the pad you want to configure
Use the Instrument dial to scroll to the matching pad type (e.g. “PDX100”)
Confirm selection — TD‑25 will load default settings for that model
Trigger Parameters & Their Effects
Once the pad type is set, you can adjust advanced settings:
• Sensitivity & Threshold
Sensitivity (1–32): How easily the pad registers hits
Threshold: Minimum strength to trigger
Higher sensitivity = softer hits trigger; higher threshold filters unwanted noise
• Velocity Curve
Choose from Linear, EXP1/2, LOG, LOUD depending on playing style — determines how quickly volume increases with hit strength
• Mask Time & Retrigger Cancel
Prevents repeated false triggers from a single strike (of rebounding stick or vibration)
• Crosstalk Cancel
Blocks vibration from one pad triggering another — essential in dense setups
• Rim Gain / Head-Rim Adjust
Balancing rim sensitivity and establishing correct switching between head and rim zones
• Positional Sensing (Where Available)
Accurate tonal response depending on hit location, especially useful on PD‑128 and other positional capable pads
Using Third-Party or Non‑Roland Pads (e.g., your products)
When using non‑Roland pads, follow this protocol:
Choose the closest Roland pad type (e.g. PDX‑100 for a similar-sized mesh pad)
Set Sensitivity lower to avoid false triggering
Increase Threshold if delaying small hits is needed
Adjust Mask Time and Crosstalk Cancel to prevent double triggers
Test your pads with different hit dynamics—soft, medium, hard—to ensure consistent behavior
Since sample pads vary in zone design or piezo placement, iterative tuning may be required for ideal feel.
Hi-Hat Settings & Calibration on the Roland TD-25
Hi-hat configuration is one of the most critical components in any electronic drum kit. The TD-25 offers solid compatibility and flexible calibration options for Roland’s own VH-series hi-hats as well as third-party hi-hats with controller pedals.
Supported Hi-Hats
The TD-25 is optimized for:
VH-11 (most common): Dual-zone hi-hat with mechanical motion sensor and controller.
VH-10: Newer, lighter version—mounted similarly with slightly different response.
CY-5 + FD-8: A simpler combination of pad and separate foot controller (older or entry-level setups).
Third-party hi-hats: May work via control voltage or continuous controller (CC) range; requires careful calibration.
How to Set Up and Calibrate the Hi-Hat
Step-by-Step Calibration (e.g. for VH-11):
Mount Properly
Ensure your hi-hat pad is mounted firmly on a standard hi-hat stand and can move freely.
The clutch should be tight but allow the pad to return to the controller.
Go to Setup
On the TD-25, press MENU → Setup → Hi-Hat Settings.
Select Hi-Hat Type
Choose VH-11 or another model that matches your hardware (VH-10, CY-5, etc.).
Offset Calibration
Loosen the clutch.
Let the hi-hat rest fully closed on the controller.
Press [CALIBRATE] (SET) to record this position as “fully closed.”
Tighten the clutch as needed to simulate your natural feel.
❗️If you don’t calibrate correctly, you may experience "floating" sounds—open hi-hats when the pedal is fully down, or closed sounds when slightly lifted.
Hi-Hat Parameters Explained
These can be adjusted under the Hi-Hat Settings menu or Trigger Settings depending on pad:
• Open/Close Resolution
Adjust how sensitively the module responds to foot pressure for smooth transitions. Lower resolution may result in "stepped" or abrupt open/close shifts.
• Foot Splash Sensitivity
Sets how much force is needed for foot splash sounds. Increase if your splashes aren’t triggering consistently. Decrease to avoid accidental splashes from soft pedal touches.
• Pedal Range (for FD-style)
If you're using an FD-8 or third-party controller pedal, set the full open and closed ranges manually.
• Edge/Bow Balance
Useful if your hi-hat bow is louder or softer than the edge. Balances volume between zones.
Tips for Best Performance
Use an original Roland cable or high-quality stereo TRS cable for optimal performance.
Keep controller surface clean—dust and grime can cause calibration errors.
Always recalibrate after moving the kit or changing clutch height.
Using Third-Party Hi-Hats
Third-party hi-hats or controllers may:
Require using “CY-5” or “Generic Pad” as type
Not support continuous control (only open/closed)
Need precise adjustment of threshold and curve
Lack foot splash functionality
You can still achieve usable performance—especially for practice or hybrid kits—by experimenting with:
Sensitivity
Threshold
Foot splash and open/closed curve ranges
Trigger Calibration – Sensitivity, Crosstalk & Response Tuning
Proper trigger calibration ensures that every pad in your setup responds naturally and consistently to your playing — no false hits, no missed strokes, and balanced volume across all surfaces.
This chapter covers how to fine-tune each trigger input on your TD‑25 for accuracy, comfort, and performance — whether you’re using Roland pads or third-party gear.
Accessing Trigger Settings
To access individual trigger settings:
Press MENU
Go to Setup → Trigger Settings
Strike the pad you want to edit — the module auto-selects it
Trigger Parameters (Detailed)
Each pad can be customized using these settings:
1. Pad Type (Trigger Type)
Choose the correct trigger model from the list:
Examples: PDX-100, CY-12C, VH-11, RT-30HR
When using non-Roland gear: Choose the closest Roland equivalent
📌 This selection loads a preset set of parameters optimized for the pad's size, material, and zone layout.
2. Sensitivity (1–32)
Controls how easily the pad responds to strikes.
Low Sensitivity = Requires harder hits
High Sensitivity = Responds to soft taps
➡ Use higher values for dynamic playing on mesh heads
➡ Lower it for hard rubber pads or overly “hot” triggers
Tip: Aim for dynamic range — soft hits should still register, loud hits shouldn’t clip
3. Threshold (0–31)
The minimum force needed to trigger a sound.
Low Threshold = Picks up even light vibrations (may trigger falsely)
High Threshold = Ignores weak hits
Use case:
Raise this to stop double triggering from vibrations
Lower it if light ghost notes aren’t being heard
4. Velocity Curve
Changes how the sound responds to hit strength.
Types:
LINEAR: Balanced dynamics
EXP 1 / 2: Exaggerated response to soft hits
LOG 1 / 2: Exaggerated response to hard hits
LOUD: Maximizes volume on all hits
SPLINE: Unique S-curve feel (combination)
Use LINEAR for most cases. Try EXP for softer playing or LOUD for performance where consistency is more important than nuance.
5. Mask Time (0–64 ms)
Prevents quick “ghost hits” from a single stroke or pad vibration.
Set just high enough to suppress bounce-triggered hits
Too high? Fast rolls will sound like notes are missing
6. Retrigger Cancel (1–16)
Cancels repeat triggers caused by unstable waveforms or pad rebound.
Start around 8 and adjust based on playstyle
Use in tandem with Mask Time to clean up rolls and fast flams
7. Crosstalk Cancel (Xtalk Cancel)
Prevents one pad from unintentionally triggering another (common on racks).
If striking one pad causes a second to sound, raise this value
Too high? Real intended hits on the second pad may be blocked
Use case:
Mounting toms and cymbals close together on a metal rack
8. Rim Gain / Head-Rim Adjust (Dual-Zone Pads)
Balances the sensitivity between the head and rim of the pad.
Useful if:
Rim shots are too quiet or too loud
Rim hits are accidentally triggered while playing center
9. Positional Sensing (Snare / Ride only)
Some pads (e.g., PD-128S or CY-15R) support position-dependent tone
Enables more realistic snare or ride dynamics
Only works if the pad supports it and is connected to the correct input
Best Practices for Calibration
Start with factory settings → Play → Adjust only if needed
Use realistic playing dynamics during testing (not just soft or loud)
Log your changes so you can revert if needed
Consider adjusting during headphones vs amplifier sessions (they behave differently)
Summary
| Parameter | Purpose | When to Adjust |
|---|---|---|
| Sensitivity | How easily a pad triggers | Soft/loud players, weak signals |
| Threshold | Minimum strike force | Ghost note detection / false hits |
| Velocity Curve | Response feel to volume | For more or less dynamic playing |
| Mask Time | Anti-double triggering | For bounces, flams |
| Retrigger Cancel | Repetition filtering | Clean rolls |
| Crosstalk Cancel | Pad-to-pad isolation | Close mounting environments |
| Rim Gain | Balance between rim & head | Dual-zone pads |