How to Clean Electronic Drums and Electronic Cymbals: A Complete, Safe Guide
Share
Keeping your electronic drums in top form isn’t just about better feel; it’s about accuracy, longevity, and reliable performance on stage and in the studio. Dirt, skin oils, stick residue, and room dust can dull sensitivity, cause false triggers, and shorten the life of rubber surfaces, mesh heads, and electronic cymbals. In this guide you’ll learn how to clean electronic drum pads, electronic cymbals, hi-hat controllers, and modules safely-using simple, musician-friendly methods that preserve both look and performance
Start with the right mindset and the right supplies
Electronic drums are different from acoustic drums. They use piezo elements, PCBs, foam cones, rubber or silicone playing surfaces, mesh heads, and delicate wiring. Water, alcohol, harsh solvents, and over-wet wipes can damage those parts. The safest baseline is a soft, lint-free microfiber cloth slightly dampened with clean water, followed by a dry cloth. For stubborn stick marks, a drop of mild, non-abrasive dish soap in water is acceptable when applied to the cloth-not directly to the pad or cymbal. Avoid alcohol, acetone, glass cleaners, citrus solvents, and abrasive pads. Keep liquids away from jacks, seams, and the drum module. Always power off and unplug your e-drums before cleaning
Cleaning electronic drum pads and mesh heads
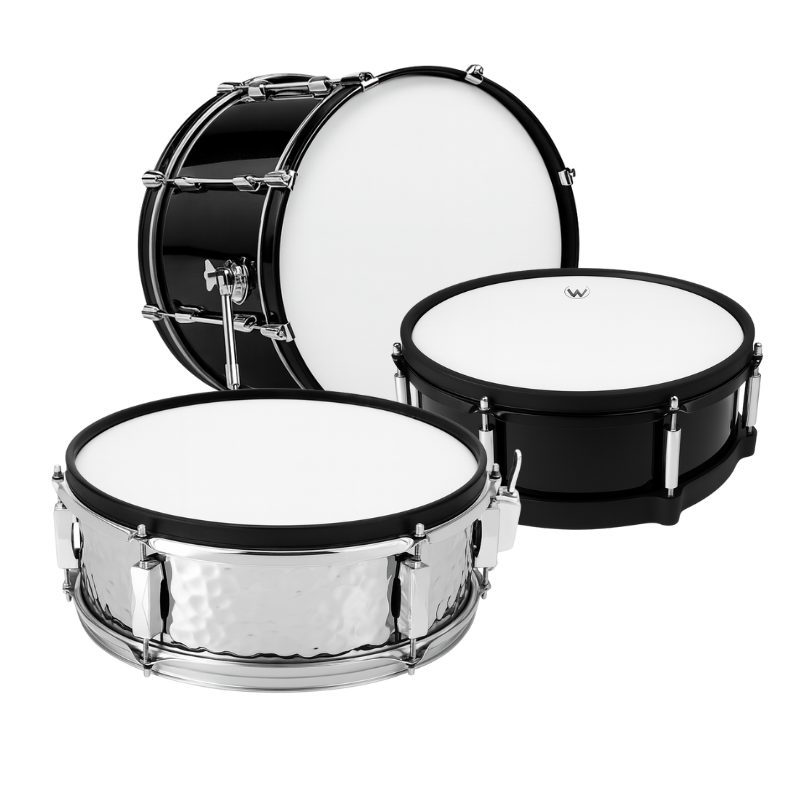
Electronic drum pads typically feature either rubber/silicone playing surfaces or mesh heads. For rubber, wipe with a barely damp microfiber using straight light strokes; then dry immediately. If stick residue remains, add a tiny bit of mild soap to the cloth and repeat. Do not flood the surface and do not use alcohol-it can dehydrate rubber and lead to micro-cracking. For mesh heads, treat them like premium athletic fabric: a dry dusting pass first, then a lightly damp cloth to lift sweat and dust. If your mesh head is removable, you can take it off the shell and clean both sides, letting it air-dry completely before reinstallation. After re-tensioning, use consistent cross-pattern turns in small increments to maintain even feel and accurate triggering
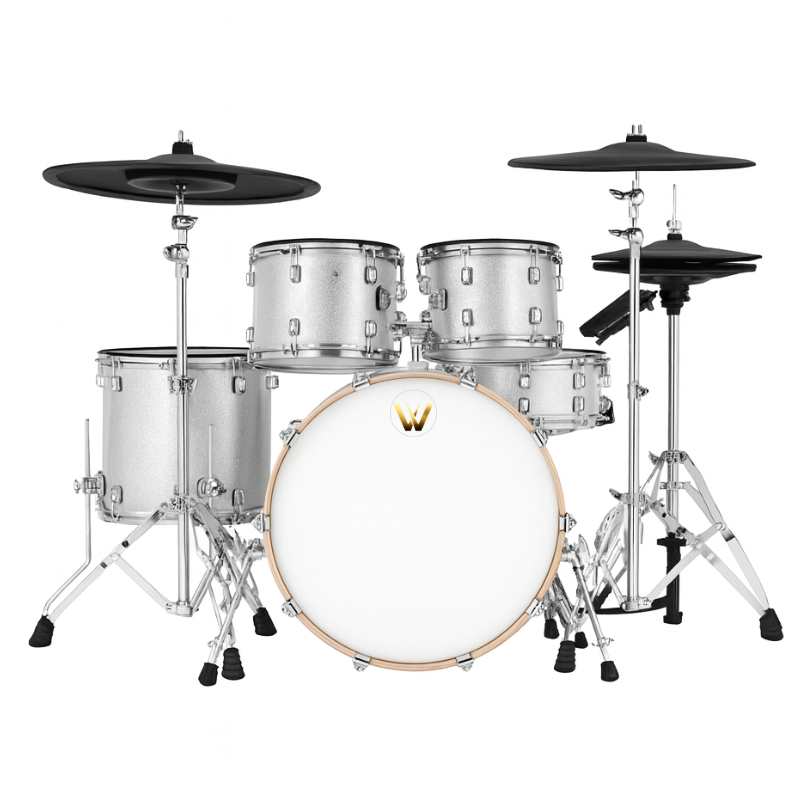
If your pads are aging or you want a smoother rebound, consider upgrading the playing surface or the entire pad. Explore our selection of electronic pads or build out a full performance rig from electronic drums. Fresh pads and correctly tuned mesh heads often reduce hot-spots and improve velocity tracking
Cleaning electronic cymbals: bow, edge, bell, and choke zones
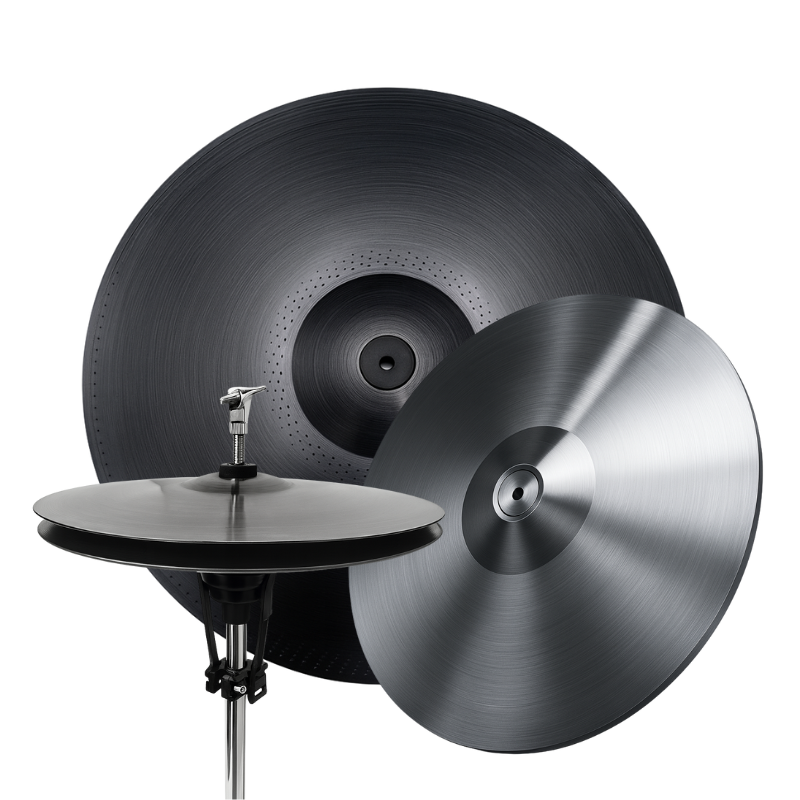
Electronic cymbals have sensitive bow and edge areas plus a choke strip or switch. Use only a dry or slightly damp microfiber cloth and keep pressure gentle and even, moving with the grain of any surface texture. Focus on removing skin oils from the edge where choking occurs, because residue there can affect grip and response. Avoid twisting or bending the cymbal while cleaning, and never pull at the choke strip. If your cymbal uses a rotation stopper, verify it’s snug so the edge and choke remain where your muscle memory expects. When the time comes to expand your setup, compare ride, crash, and special-effect models in our electronic cymbals collection
Hi-hat controllers and foot boards
The hi-hat is where sweat, dust, and floor debris collect quickly. Wipe the top pad or top cymbal with a dry or slightly damp microfiber cloth. Clean the foot board and any exposed rails with the same cloth, taking care around moving parts. If your controller uses a sliding actuator or magnet, keep that path dust-free to avoid jittery openness values. After cleaning, recalibrate openness in the drum module so the system learns the fully closed and fully open positions again for accurate chick, splash, and half-open states
Drum module, jacks, and cables
The drum module is the “brain,” and it deserves gentle care. Use a dry microfiber cloth for the screen and panel. For encoders and buttons, dry only; never spray cleaner on the unit. Inspect TRS cables and connectors for oxidation or bent tips. A cable with intermittent contact is the most common source of random crosstalk and dropped rim hits. Keep cables coiled loosely and away from power adapters. If you need fresh, shielded lines, browse accessories for electronic drums for cables, rotation stoppers, and mounting hardware
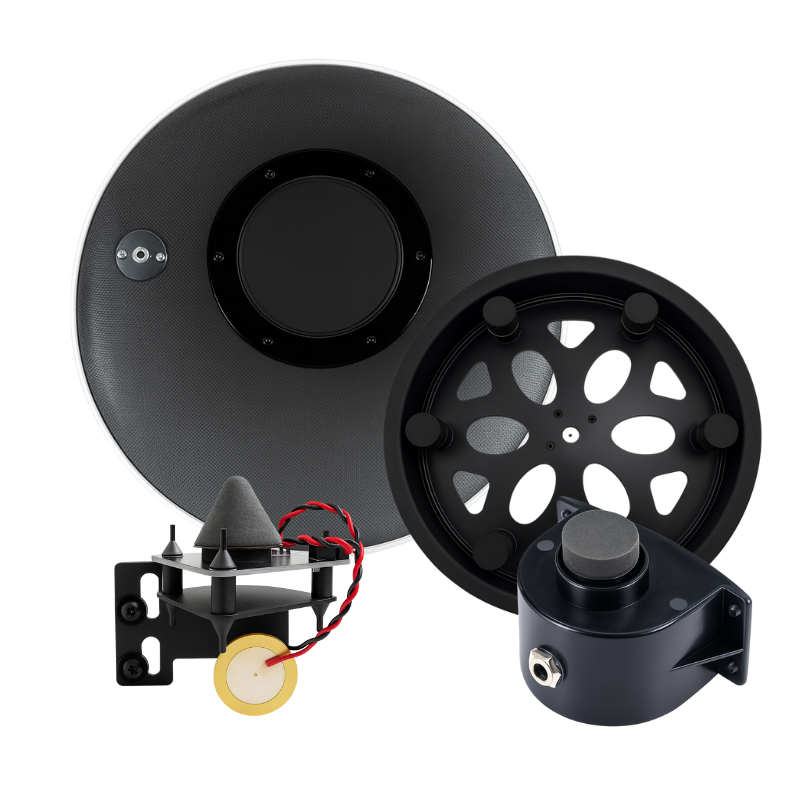
Inside the shell: triggers, foam cones, and PCBs
Routine cleaning generally stops at the surface, but if you must open a pad for service, disconnect power and discharge static by touching grounded metal. Light internal dust can be removed with a dry microfiber or a puff of clean, compressed air held at a safe distance. Do not spray liquids on piezos, PCBs, or foam. Reseat connectors gently and confirm the cone contacts the head evenly before closing. If you discover a failing sensor or cracked board, consider replacing the trigger plate or PCB rather than over-cleaning a part that’s past its prime. When repair turns into upgrade, complete configurations are available in electronic drums and service-friendly spare parts live under accessories for electronic drums
After cleaning: calibrate, tune, and test
Once your surfaces are clean and dry, spend a few minutes optimizing performance. Re-tension mesh heads evenly. In the module, reset pad sensitivity, threshold, scan time, and crosstalk to sane defaults, then play naturally to fine-tune. Calibrate hi-hat openness after any cleaning that involved the pedal or top cymbal. If you want to tighten timing and consistency during testing, practice briefly with a click. Our Groove Keeper Metronome is a browser-friendly tool for subdivided practice, checking stick control, and evaluating if your pad feels uniform from center to edge
Storage, climate, and long-term care
Electronic drum pads and electronic cymbals prefer moderate climates. Excess heat can soften adhesives and foams, while cold and low humidity may stiffen rubber. Keep your kit away from direct sunlight, heaters, or persistent drafts. Dust covers help tremendously; even a clean towel over the snare and ride reduces weekly wipe-downs. If your studio collects fine dust, a small air purifier near the kit can reduce debris that accumulates on pads and the drum module. Label and date your cleaning routine so you know when mesh heads were last tensioned and when cables were inspected for wear
When cleaning isn’t enough: refresh, replace, or expand
If a pad looks clean but still misfires or feels inconsistent, the issue may be wear rather than dirt. A fresh mesh head or a new trigger plate can restore dynamics. If your cymbal chokes unreliably after thorough care, the edge sensor might be fatigued. That’s the moment to evaluate replacements that match your module and playing style. Build a precise, quiet, and expressive setup by combining upgraded pads and cymbals from electronic pads and electronic cymbals, or start with a complete kit from electronic drums. For tutorials, in-action demos, and maintenance walkthroughs, subscribe to our YouTube channel and follow along as we test real-world cleaning, tuning, and trigger optimization
Quick reference: safe habits that protect sensors and surfaces
Think light, dry, and consistent. Use minimal moisture on a cloth, never on the instrument directly. Keep liquids away from jacks and seams. Dry immediately after lifting residue. Recalibrate hi-hat and revisit module sensitivity after any deep clean. Inspect cables on the same day you clean pads-stable wiring is part of cleaning. Treat mesh heads like precision parts: even tension beats brute force, and clean heads plus correct tuning yield better tracking than any aggressive solvent could ever deliver
Clean electronic drums perform better, last longer, and record more consistently. A simple routine-soft microfiber, minimal moisture, careful attention to hi-hat mechanics, tidy cables, and a quick module tune-up-keeps triggers responsive and electronic cymbals articulate. When cleaning reveals natural wear, refresh the parts that matter most and enjoy a quieter, more expressive e-drums experience every day