How to Set Up Your Electronic Drum Kit for Maximum Comfort and Playability
Share
Setting up your electronic drum kit correctly is one of the most important steps for getting the most out of your playing
Whether you’re using a compact 5-piece e-kit or a full hybrid setup with acoustic shells and triggers, proper placement, height, and ergonomics will dramatically improve your feel, speed, and accuracy
A well-positioned kit not only helps with comfort but also reduces fatigue and injury over long practice or gig sessions
Step 1 – Choose the Right Space
Before you start setting up, find a stable and quiet space with enough room for full arm movement
Avoid placing your kit too close to walls or furniture that might limit your motion or interfere with cymbal placement
If you're using an acoustic-electronic hybrid kit, make sure the floor can support heavier shells or hardware
Use a non-slip rug or mat under your kit to prevent movement, especially with kick pads and hi-hat stands
Step 2 – Start with the Throne and Kick Pad
Position your drum throne first
Sit down and place your feet flat on the floor at a natural angle
Your knees should be slightly lower than your hips, with a straight back and relaxed shoulders
Place the kick pad or bass drum in line with your right foot (or left, if you’re a left-handed player)
Make sure the beater strikes the center of the pad, and adjust pedal angle and spring tension to your comfort
Step 3 – Snare Pad Comes Next
Your snare should sit between your knees at a slight angle
The playing surface should align naturally with your sticks when your elbows are relaxed by your sides
Whether you’re using a mesh snare pad or an acoustic drum with a trigger, aim for the same feel you’d get on a traditional kit
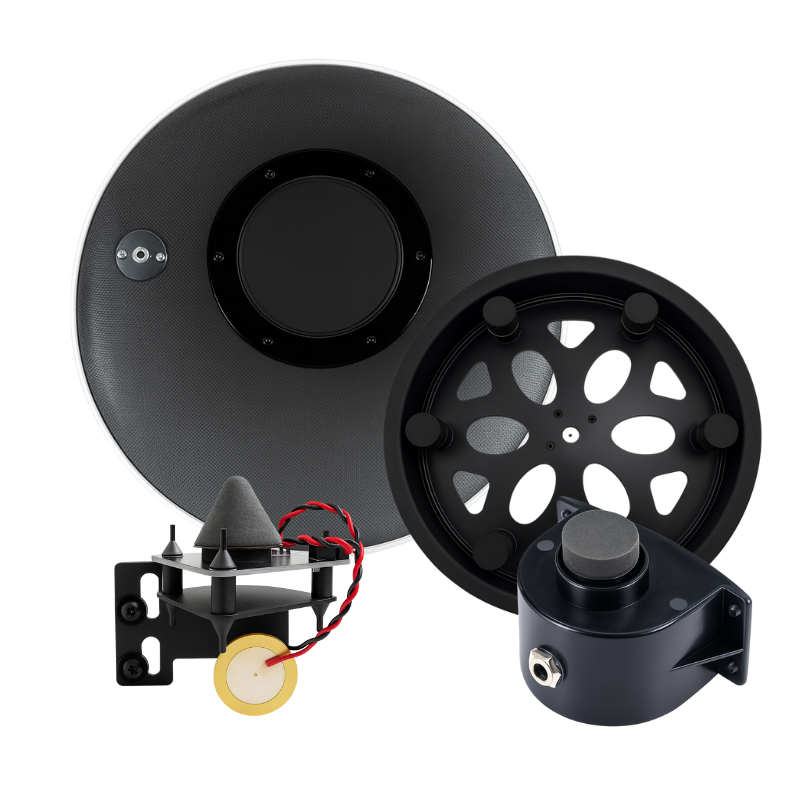
Make sure the trigger responds evenly across the pad and test head and rim zones if using a dual zone snare
Step 4 – Set Up the Toms
Place the tom pads or drums in a semi-circle around the snare
They should be reachable with minimal arm movement
Avoid placing them too high or flat — slightly tilted toward you improves comfort and accuracy
In three-tom setups, ensure toms flow smoothly from high to low without forcing awkward wrist angles
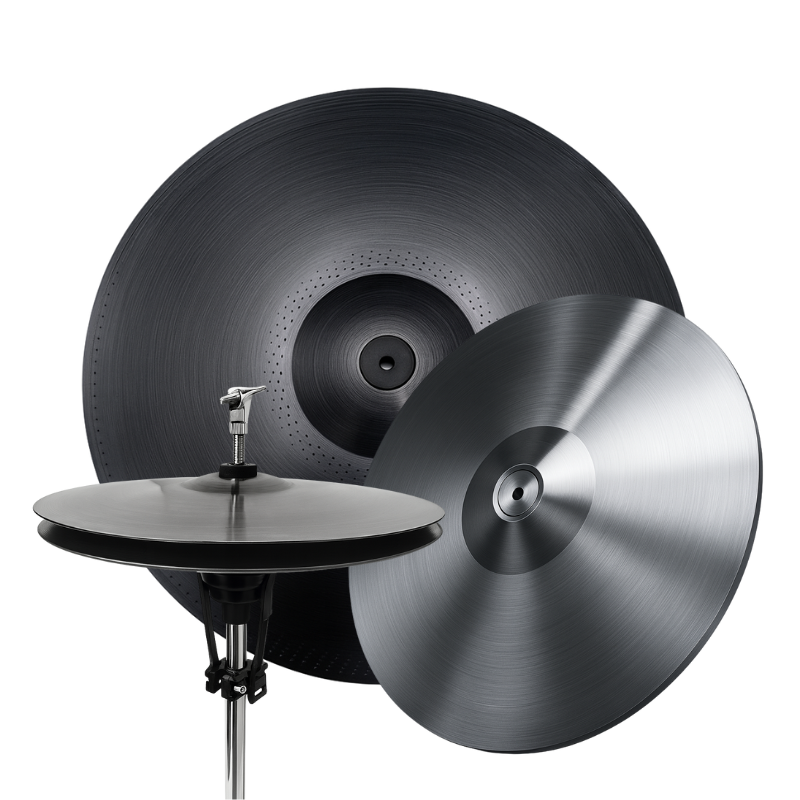
Step 5 – Cymbals and Hi-Hat
Mount your ride, crash, and hi-hat pads in natural, familiar positions
The hi-hat should be close to your left hand and foot for quick control
The crash cymbal sits above the first tom or to the left side
The ride cymbal should be centered over the floor tom or slightly to the right
Use boom arms if needed to create space and positioning flexibility
Ensure the cables from each cymbal are routed cleanly to avoid tension or disconnection during play
Step 6 – Drum Module Positioning
Place your drum module in a reachable location, ideally to the right or left of the snare
Make sure you can access buttons and knobs without shifting your posture or interrupting playing flow
If you use VST software or external gear, keep a laptop or interface stand nearby but out of your striking zone
Label your cables or use colored ties to keep your wiring organized and prevent misfires or loose connections
Bonus Tips for Optimal Setup
Keep all cables secured and out of the way using cable ties or clips
Adjust sensitivity and trigger settings in the module after the full setup is physically complete
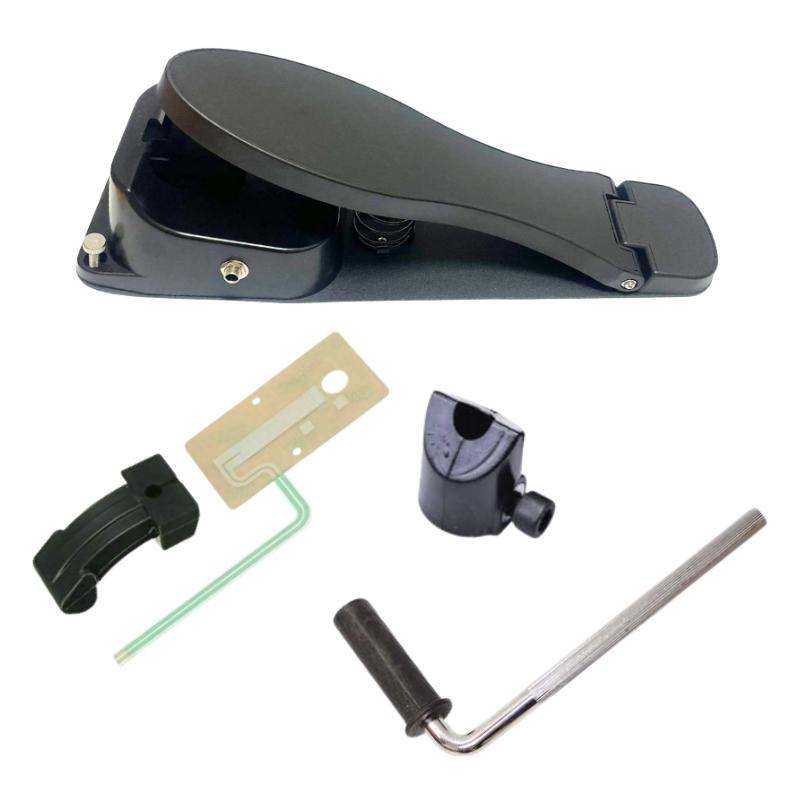
Double-check hi-hat controller calibration for smooth open-close transitions
Play slowly through your full range to test response and comfort
Film yourself or observe from the side to catch posture or placement issues you may not notice in real time
Related Keywords and Phrases
How to set up electronic drums
Electronic drum kit positioning
E-drum setup tips
Drum throne height and angle
Trigger pad placement guide
Dual zone pad alignment
Best layout for Roland drums
Ergonomic e-drum configuration
Cable management for e-drums
Drum module positioning
Practice room drum layout
Beginner e-drum setup guide